
REVIEW · GRAND CANYON DAY TRIPS FROM LAS VEGAS
Las Vegas:4-Day Grand Canyon, Antelope Canyon, Bryce, Arches
Early-morning canyon light is a real gift. This small-group trip is built for big views without the stress, with stops across Utah and Arizona plus onboard Starlink Wi-Fi and binoculars so you do not miss the details. I like that the pace stays relaxed, and you are not stuck rushing from one parking lot to another.
Two things I especially like are the photo-friendly timing at places like Antelope Canyon and Horseshoe Bend, and the practical comfort of the premium touring vehicle stocked with bottled water and light snacks. Even with a packed route, the day feels organized, not frantic.
One possible drawback to consider: Antelope Canyon entry is not included, and you may also run into the national park non-resident fee, so your final total can creep up if you are not budgeting for add-ons.
Key Points to Know Before You Go
- Max 10 travelers keeps the vibe small and makes stops feel smoother.
- Starlink Wi-Fi onboard helps you plan photos and keep connected across long desert drives.
- Binoculars plus included admissions mean less hustling for gear and fewer ticket lines.
- Antelope Canyon rules matter: tripods or monopods are not allowed there.
- Grand Canyon time plus optional helicopter gives you a choice for how big you want day 4 to feel.
Small-group Las Vegas touring with Starlink on board
This is a 4-day, 3-night road trip out of Las Vegas with pickup and drop-off at select hotels. You start at 7:00 am, so plan for an early wake-up, especially if you are coming from the Strip. The upside of that start is you get cooler conditions and more useful light as you roll into the parks.
The vehicle is described as a premium NAPPA first-class touring vehicle with commercial insurance. In plain terms, that matters when you spend days on the road and want a seat that feels solid, not bouncy. You also get bottled water and light snacks, plus binoculars for spotting formations that would otherwise be too far away.
And yes, the big modern perk: Starlink satellite Wi-Fi runs throughout the journey. In the deep desert, that can be the difference between confidently mapping your next stop and guessing what comes next.
More Las Vegas tours and experiences for the shortlist

Price and what you really pay for: admissions, meals, and Antelope add-ons
At $1,185 per person, the value comes from how many major stops are bundled with admissions. Grand Canyon, Zion, Bryce Canyon, Arches, Horseshoe Bend, Monument Valley, and Lake Powell are listed as included. Breakfast is also included for three mornings.
That said, there are two cost items you should keep in mind before you book. Antelope Canyon entry for Lower Antelope and Upper Antelope is not included, and national park non-resident fees are not listed as included either. Add tips, too, since gratuities of 10 to 20 percent are recommended.
So here is how I think about the price: if you already planned to visit these parks in a tight timeline, you are paying for convenience, guided routing, and time you do not have to spend building an itinerary from scratch. If you were hoping to DIY only a couple of parks, this might be more than you need.
Day 1: Zion and Bryce Canyon, from steep cliffs to orange hoodoos
Day 1 swings from Zion to Bryce Canyon, and it works because the parks feel totally different.
Zion National Park: narrow canyon depth and classic hiking country
Zion is Utah’s most diverse, oldest, and most popular national park, and you feel that immediately when you stand in the valley. Expect steep giant rock walls towering above you, a narrow and deep canyon bottom, and lots of options for hiking, wading, and rock climbing in areas that may require professional licenses. You get about two hours here, with admission included.
The most practical way to enjoy Zion in a short visit is to focus on viewpoints you can reach without turning it into a marathon. You do not need to conquer long trails to get the wow factor, because Zion’s main magic is how the canyon keeps looking different as you shift your angle.
Bryce Canyon: an open-air theater of orange and red rock columns
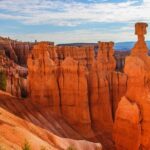
After Zion’s deep canyon, Bryce Canyon gives you a wide, dramatic “viewing room” feel. Bryce is famous for thousands of orange and red rock columns, arranged in continuous patterns that create the illusion of an amphitheater. It is also the smallest national park in the U.S., but it packs in a huge variety of formations in a relatively compact area.
You get another two hours in Bryce, with admission included. Many formations can look Roman Colosseum-like from certain angles, which is why this park is so popular for photographers who want strong shapes, not just wide scenery.
If you love photos, Bryce is where you can test your timing skills. If the light is soft, your columns look smoother and more sculptural. If the sun is higher, textures and color contrast jump.

Day 2: Monument Valley and Arches, red-rock icons that feel cinematic
Day 2 is all about the American West aesthetic, with two stops that photographers adore for different reasons.
Monument Valley: the Eye of the Sun and movie-set vibes
Monument Valley is a symbol of the American West, known worldwide partly because it has appeared in films since the 1930s. The scenery is huge red rock structures standing out against a red plain, including the famous Eye of the Sun.
You get about two hours here, and Monument Valley admission is free. A practical note: with a short stop, you want to move with purpose. Pick a few angles that give you both the scale and the iconic shapes, then spend your time waiting for light and clearing distractions.
If you want a more grounded experience, think of Monument Valley as a “context park.” It helps you understand what people mean when they talk about the West feeling wide and empty, because the views really do make you slow down.
Arches National Park: more than 2,000 arches, forming and collapsing
Then you switch gears to Arches National Park, where the main event is arches. Arches is described as the world’s largest concentration of natural sandstone arches, with over 2,000 of them. The smallest can span about 0.9 meters, while the largest is around 91 meters.
You get about two hours in Arches, and admission is free. The park is also active geologically, with new arches still forming while old ones collapse. That mix of creation and change makes it more than a museum-like stop.
With a time limit, I suggest treating Arches like a highlight reel rather than a checklist. Pick a couple of arches that match your photo style, one wide composition for scale, and one tighter shot for texture.
Day 3: Antelope Canyon with tripod rules, then Horseshoe Bend and Lake Powell
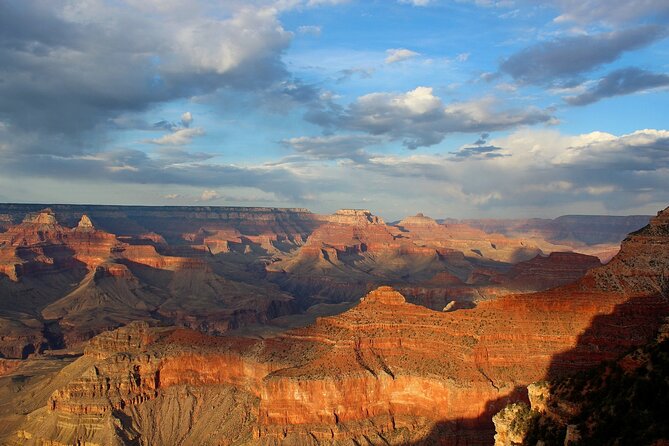
Day 3 is the day most people remember most clearly because it includes Antelope Canyon and Horseshoe Bend in the same loop. It is also the day where you need to follow rules to avoid headaches.
Antelope Canyon: light and shadow, plus the no tripod rule
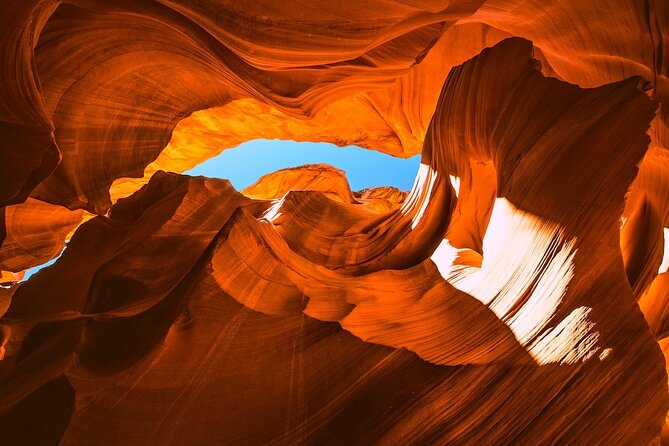
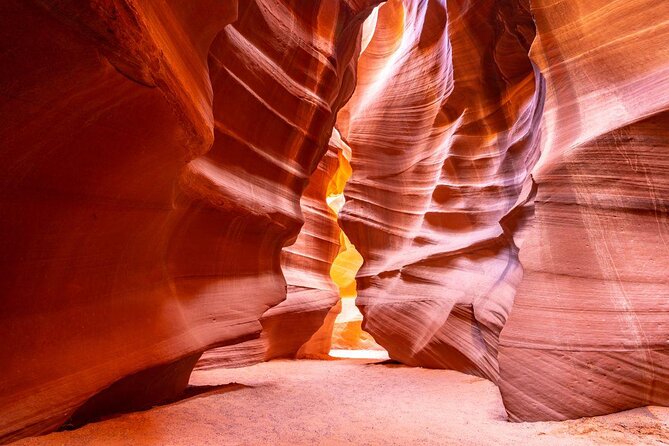
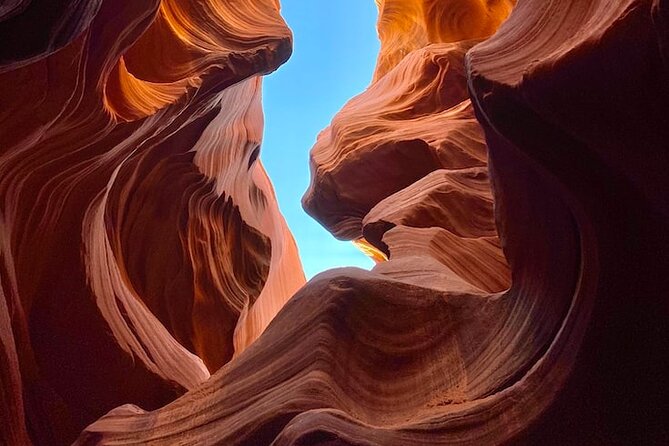
Antelope Canyon in northern Arizona is shaped by soft sandstone erosion over millions of years. During the monsoon season, flash floods can happen when rainfall increases suddenly, and the narrow canyon channels water fast. That is why the canyon walls can look smooth and sculpted, like flowing water hardened over time.
You get 1 hour 30 minutes in Antelope Canyon, but entry for Lower Antelope and Upper Antelope is not included. Also, a key restriction: tripods or monopods are not allowed in Antelope Canyon. That one detail matters a lot if you like stable shots or use heavier camera setups.
What you will notice inside is how sunlight transforms the canyon walls into a corridor of patterns. The rock surfaces create layered edges that catch light in a way that feels almost painterly. If you are thinking about photos, plan for handheld or supported shooting that stays within the no tripod rule.
Horseshoe Bend: fluorescent green water and the 360-degree river turn
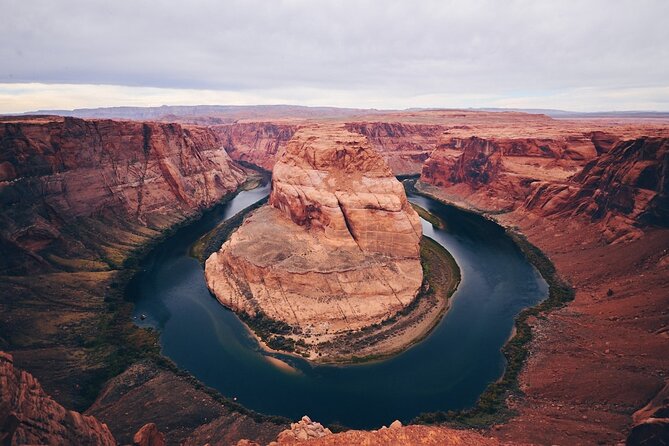
After Antelope, you go to Horseshoe Bend, one of seven top photography spots in the United States selected by National Geographic magazine. Here, the Colorado River forms a horseshoe shape as it turns 360 degrees, cutting through red-brown canyon walls.
The river can look fluorescent green at times because of dense water grass on the riverbed under sunlight. You get about one hour here, with admission included.
The practical takeaway: Horseshoe Bend rewards patience. Even when you arrive at the right time, the color and intensity can shift as clouds move. If you want that famous look, be ready to wait a bit for light to line up with the angle.
Lake Powell: a quick hit at a huge recreational water playground
You end Day 3 with a shorter stop at Lake Powell, about 30 minutes, with admission free. Lake Powell spans the Arizona and Utah border and is a popular inland water recreational spot. You will also see geological wonders along the shoreline, which adds variety after two days of mostly rock and canyon forms.
Because the stop is short, treat it as a scenic break and a place to reset. Use the time for a couple of photos from whatever viewpoints your route allows, then get ready for Grand Canyon day.
Day 4: Grand Canyon time, plus a 30-minute helicopter option
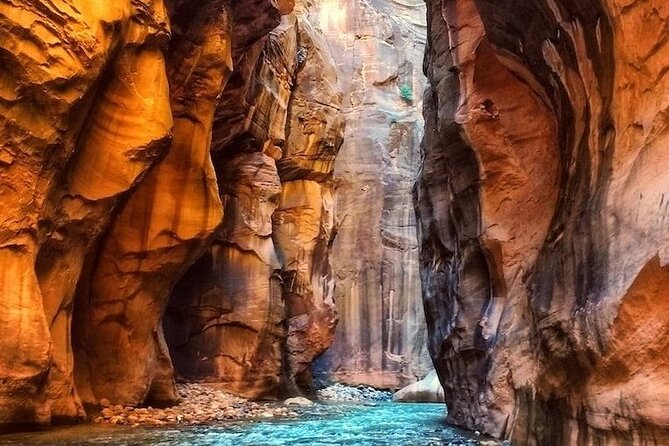
Day 4 is all about the Grand Canyon, and it is your big finale.
Grand Canyon National Park: UNESCO level scale, carved by the Colorado River
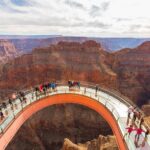
The Grand Canyon is the first of the Seven Natural Wonders of the World and covers about 1,904 square miles. It was established in 1919 and approved as a World Heritage site by UNESCO in 1979. The main story is the Colorado River carving through the plateau over time.
You get three hours in Grand Canyon National Park, with admission included. With that amount of time, you can typically get at least a few strong overlooks and a feel for how the canyon changes with distance and light.
I like that the stop is not rushed to a “quick photo only” sprint. Three hours gives you breathing room to enjoy the view, then return to the viewpoint again if the light shifts.
Optional Grand Canyon helicopter tour: a short add-on if you want the bird’s-eye view
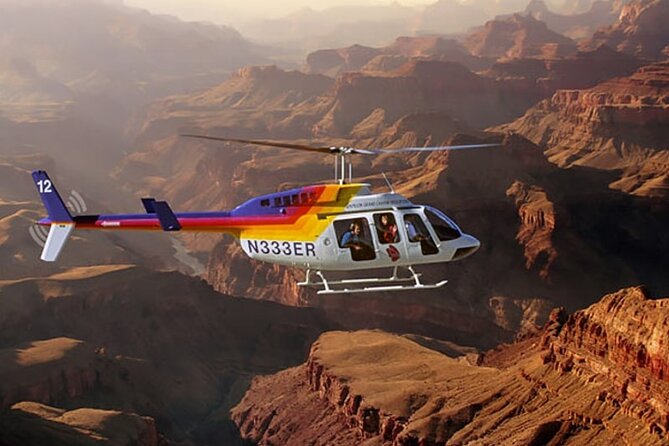
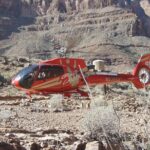
There is an optional Grand Canyon Helicopter Tour for about 0.5 hours. If you take it, you are adding a very different perspective to the day, and the time commitment is short compared to longer adventure tours.
This option is ideal if you want scale that a viewpoint cannot fully deliver, especially if you have limited mobility on the ground.
The guide and comfort details that make the route feel smooth
This tour runs with a professional tour guide, and the small-group format helps keep the whole experience organized. The premium touring vehicle, commercial insurance, and comfort matter because you are looking at multiple long road stretches.
One specific guide detail worth noting: Jason is mentioned as very nice and considerate, especially when traveling with parents, and that he took good care of the group. He also helped with pacing so sights were seen at good times of day and night.
You also get binoculars and amenities like bottled water and light snacks each day, which is not glamorous but it is useful. When you are staring up at canyon walls, binoculars help you spot patterns and layers that would otherwise be too distant.
Photo strategy for desert days: timing, rules, and what to bring
You are visiting places where light direction can make a huge difference, so photo planning is not just about camera settings. The tour’s timing aims to land you at standout moments, and places like Antelope Canyon and Horseshoe Bend are especially sensitive to how the sun hits the rock.
Here are practical photo notes that help you enjoy without frustration:
- For Antelope Canyon, plan to shoot without a tripod or monopod since those are not allowed.
- Use the provided binoculars for composition, especially at overlooks where you can spot the “money angles” before you take your camera out.
- Keep your camera battery charged. The Starlink Wi-Fi and phones can drain power, so bring a way to top up.
And do not underestimate the desert basics. Wear sun protection, and keep an eye on hydration even with water provided. If you feel good, you photograph better.
Who this tour fits best, and who should think twice
This experience is best for people who want a serious hit list of U.S. desert icons without spending days planning routes, tickets, and drive times. If you love national parks, photography, and guided context, this style of small-group road trip makes a lot of sense.
It is also a great fit if you appreciate comfort upgrades. A spacious vehicle, bottled water, light snacks, binoculars, and onboard Wi-Fi can turn a long travel day into a manageable one.
Who might think twice:
- If you want to control your own pace at every stop, a guided loop may feel limiting.
- If your budget is tight, remember Antelope Canyon entry is not included and national park non-resident fees may apply.
- If you dislike early starts, the 7:00 am departure will require real willpower.
Should you book this Las Vegas to Utah and Arizona tour?
I think you should book if you want to see Zion, Bryce, Arches, Monument Valley, Antelope Canyon, Horseshoe Bend, Lake Powell, and the Grand Canyon in one organized package with small-group energy. The included admissions cover most of the big-ticket stops, and the Starlink Wi-Fi plus binoculars make the trip feel more thoughtful than a basic bus tour.
Before you hit confirm, do these quick checks:
- Budget for Antelope Canyon entry since it is not included.
- Ask yourself if you will pay for optional things like the Grand Canyon helicopter tour.
- Plan for gratuities (10 to 20 percent is recommended).
- Remember that national park non-resident fees may be on top.
If you like structure, strong views, and the convenience of being driven from place to place, this tour is a solid value for a four-day window.
FAQ
What time does the tour start?
The tour start time is 7:00 am.
How many travelers are on this tour?
The tour has a maximum of 10 travelers.
Is this tour offered in English?
Yes, it is offered in English.
Is there Wi-Fi onboard?
Yes, there is Starlink satellite Wi-Fi available throughout the journey.
Does the price include park admissions?
Admissions are included for Grand Canyon, Zion, Bryce Canyon, Arches, Horseshoe Bend, Monument Valley, and Lake Powell. Antelope Canyon entry for Lower Antelope and Upper Antelope is not included.
Are meals included?
Yes. Breakfast is included for 3 days.
Are tripods or monopods allowed in Antelope Canyon?
No. Tripods or monopods are not allowed in Antelope Canyon.
Is there a helicopter option at the Grand Canyon?
Yes. There is an optional Grand Canyon Helicopter Tour for about 0.5 hours.
Where do pickup and drop-off happen?
You get round-trip transportation from Las Vegas, with pickup and drop-off at select Las Vegas hotels. The tour ends back at the meeting point.
Can I cancel for a full refund?
Yes. You can cancel up to 24 hours in advance for a full refund. This experience also notes it requires good weather and can be offered a different date or a full refund if canceled due to poor weather.
More 4-Day Experiences in Las Vegas
More Tour Reviews in Las Vegas
Not for you? Here's more nearby things to do in Las Vegas we have reviewed


More Grand Canyon Day Trips from Las Vegas
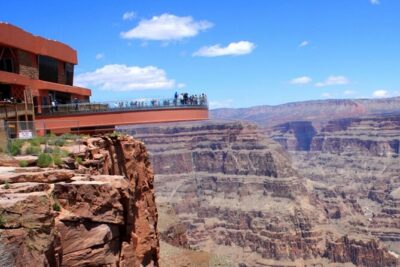 ★ 5.0Grand Canyon West, Hoover Dam Stop and Optional Lunch and SkywalkFrom $10919,535 reviews
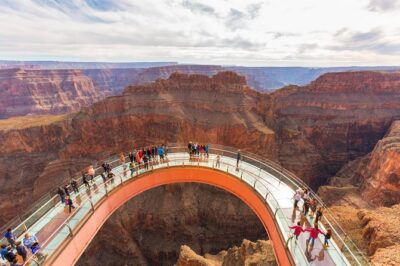 ★ 5.0Grand Canyon West, Hoover Dam Stop, Breakfast, Lunch & SkywalkFrom $9412,194 reviews
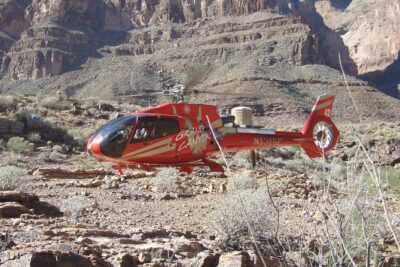 ★ 4.0Grand Canyon West Bus Tour with Hoover Dam and Optional SkywalkFrom $857,224 reviews
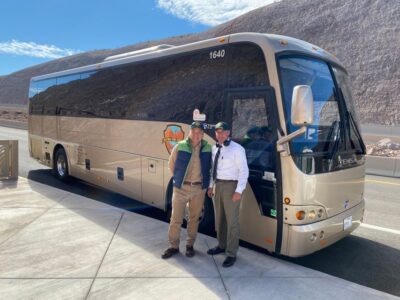 ★ 4.6Grand Canyon, Hoover Dam, Lunch/Skywalk Options, WiFiFrom $905,521 reviews
 ★ 5.0Grand Canyon + Hoover Dam View + WiFi (Skywalk/lunch options)From $1195,222 reviews
 ★ 4.5Grand Canyon West + Hoover Dam Photo Stop + Optional Skywalk TourFrom $954,269 reviews
 ★ 4.5Grand Canyon National Park South Rim Bus Tour from Las VegasFrom $713,071 reviews
 ★ 5.0Small Group Grand Canyon, Hoover Dam, 7 Magic Mountains VIP TourFrom $1892,964 reviews
More ways to spend the day